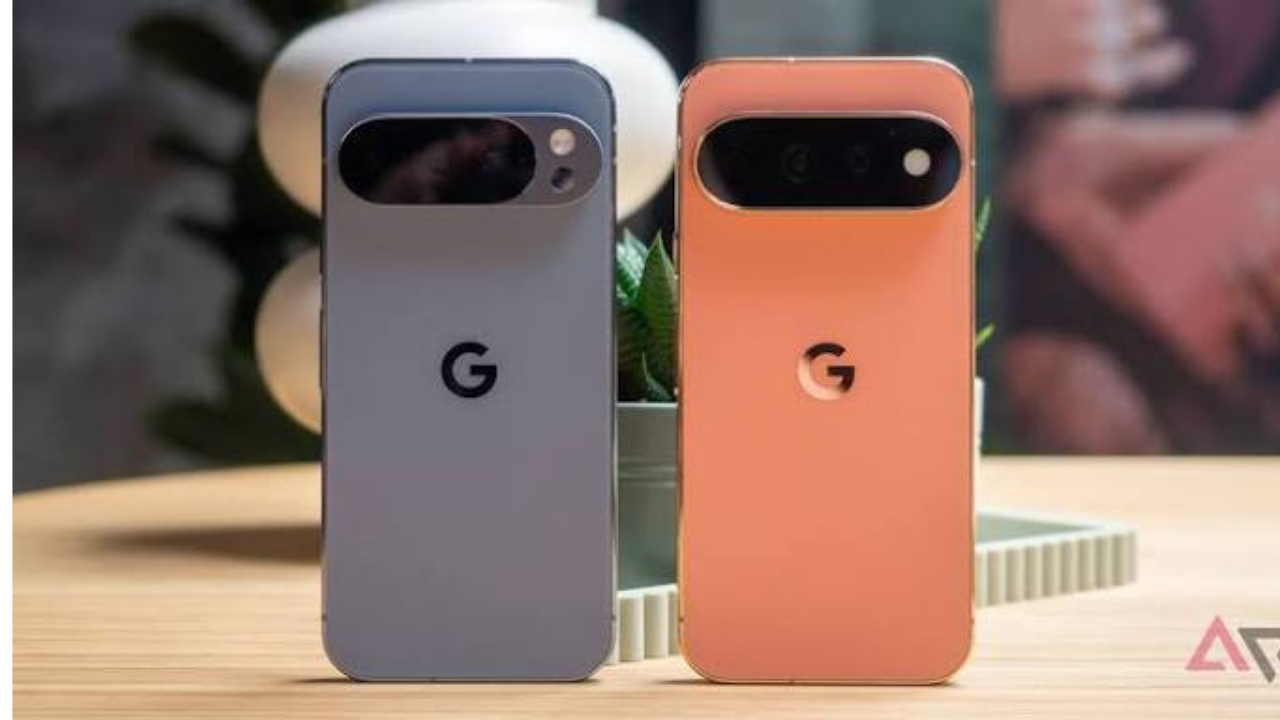
Your Pixel phone already has a powerful camera, but some useful camera features are not turned on for every situation. A quick check of the Camera settings can make it easier to get sharper photos, better group shots, cleaner videos, and more control over your pictures.
The exact options can vary by Pixel model and software version. Here are six camera settings worth checking right now, along with what they do and when you should use them.
1. Turn on Top Shot
Top Shot is one of the most useful settings if you often photograph children, pets, moving people, or other moments that are easy to miss. Instead of relying on a single frame, the Camera app captures a burst of photos and can help you choose the best one.
On Pixel 10 and later, Google says Top Shot can be set to Auto. On Pixel 9a and earlier, the available choices include Auto and On.
To check it, open the Camera app, tap Settings, and look for Top Shot. On supported phones, setting it to Auto is a good choice for everyday photography.
Top Shot can be especially helpful when someone blinks, moves their head, or changes their expression just as you press the shutter. On Pixel 10 and later, photos taken with Top Shot also support HDR+ quality.
2. Enable gridlines for better framing
A simple grid can make a big difference when you are taking pictures of buildings, landscapes, food, or people. It helps you keep the phone level and makes it easier to place your subject in a balanced part of the frame.

Google’s Pixel Camera settings include grid options under the camera’s More settings menu.
To find them, open Camera, tap Settings, choose More settings, and look for Grid type.
Gridlines are not an image-quality setting, but they can help you avoid common problems such as a tilted horizon or a subject that looks awkwardly placed. If you take a lot of everyday photos, keeping a grid on is worth trying.
3. Check 50 MP mode if you have a supported Pro Pixel
If you own a supported Pro model, the 50 MP option is one of the most important camera settings to know about. It allows the phone to capture photos at a much higher resolution than its normal shooting mode.
Google currently lists the Pixel 8 Pro, Pixel 9 Pro, Pixel 9 Pro XL, Pixel 10 Pro, and Pixel 10 Pro XL as supporting 50 MP photos.
| Pixel model | 50 MP photo support |
|---|---|
| Pixel 8 Pro | Yes |
| Pixel 9 Pro | Yes |
| Pixel 9 Pro XL | Yes |
| Pixel 10 Pro | Yes |
| Pixel 10 Pro XL | Yes |
| Other Pixel models | Depends on model; 50 MP is not generally available |
On supported phones, open Camera, tap Settings, go to the Pro tab, and set Resolution to 50 MP.
You do not need to use 50 MP for every photo. Higher-resolution files can take up more storage, so the normal camera mode may still be the better choice for quick everyday pictures. But for landscapes, detailed scenes, or photos you expect to crop later, it is a useful option to have ready.

Pixel 10 Pro and Pixel 10 Pro XL also support 50 MP photos in Portrait mode after the feature is enabled.
4. Turn on RAW + JPEG if you edit photos
RAW is useful for people who like to edit their photos after taking them. A RAW file keeps much more original image information for editing, while the JPEG version is ready to view and share.
Google lets supported Pixel phones capture RAW and JPEG versions together.
To enable the control, open Camera, tap Settings, go to More settings, then Advanced, and turn on RAW/JPEG control. Google notes that this extra setup step is not required on Pixel 8 Pro.
After that, RAW + JPEG can be enabled from the camera settings when you want to use it.
RAW is not necessary for most casual photos. It is mainly useful when you plan to make detailed edits to exposure, shadows, highlights, or color. RAW files can also take up considerably more storage than normal photos, so it makes sense to use the feature when you actually need it.
5. Enable manual lens selection on supported Pixels
Your Pixel normally decides which camera lens to use as you zoom. That is convenient, but some users may want direct control over the lens.

Google provides Manual Lens Selection on the Pixel 6 Pro, Pixel 7 Pro, Pixel 8 Pro, Pixel Fold, and Pixel 9 and later models.
To check the setting, open Camera, tap Settings, go to the Pro tab, and look for Lens Selection. Choose Manual if the option is available.
Once enabled, the camera can show separate controls for the lenses available on your phone, such as ultrawide, wide, and telephoto.
This can be useful when you want to decide exactly which lens is being used rather than letting the phone switch automatically while you zoom. It is particularly helpful for people who want more control over composition and image quality.
6. Turn on Audio Zoom for better zoomed-in video
Camera settings are not only about photos. If you record a lot of video, Audio Zoom is another setting worth checking.
Google says Audio Zoom is available on Pixel 5a and later, including Pixel Fold models. When you record video of a zoomed-in subject, the feature boosts the sound from that direction and reduces some other background noise.
To turn it on, open Camera, switch to Video mode, tap Settings, and enable Audio Zoom.
It can be useful when recording a speaker, performer, or another subject that is some distance away. Keep in mind that it is designed for situations where you are actually zooming in on a target, so it is not something you need to think about for every video.
A few settings are model-specific
One important thing to remember is that Pixel Camera does not have exactly the same features on every phone. Google limits some camera tools to newer or Pro models, so you may not see every option listed above.
For example, 50 MP photography is limited to supported Pro models, while manual lens selection is available only on certain Pixel phones. Audio Zoom has a wider range of supported devices.
If a setting is missing from your Camera app, that does not necessarily mean something is wrong with your phone. It may simply not be supported on your particular Pixel model.
Check these six settings before your next photo
If you want a quick checklist, these are the six settings worth checking:
- Top Shot: Set it to Auto or On when available, especially for moving subjects.
- Gridlines: Turn them on if you want help with framing and straight horizons.
- 50 MP: Use it on supported Pro models when you need high-resolution photos.
- RAW + JPEG: Enable it when you plan to make detailed photo edits.
- Manual Lens Selection: Use it on supported models when you want direct control over the camera lens.
- Audio Zoom: Turn it on if you often record zoomed-in video.
The best setup depends on how you use your Pixel
There is no single camera setup that is perfect for everyone. A person who mostly takes family photos may get the most value from Top Shot and gridlines. Someone who edits photos may prefer RAW + JPEG, while a Pro Pixel owner may want to keep 50 MP and manual lens selection available.
The key is not to turn on every option simply because it exists. Some features use more storage or are designed for specific situations. Instead, check these six settings and enable the ones that match the way you normally take photos and videos.

With those options set up, you can get more from the Pixel Camera without needing to change your shooting habits every time you open the app.